
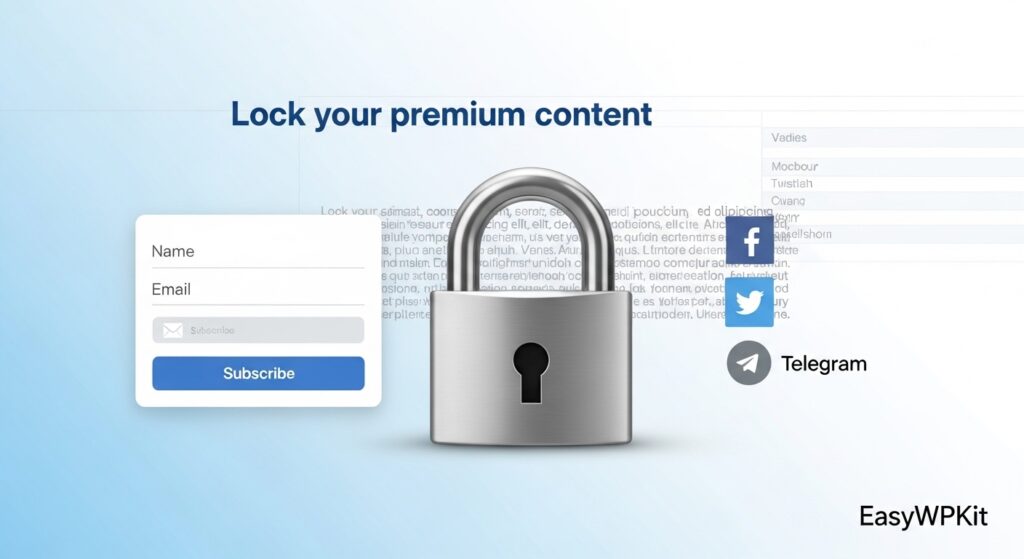
Easywpkit Paid Content Access lets you hide any text, image, or video on your WordPress site and display it only to logged‑in users with the right role.
It’s the perfect tool for membership areas, private course lessons, premium teasers, and exclusive community content – completely free and unlimited.
With the free version you can:
- Lock unlimited blocks by any user role (Subscriber, Author, Editor, or custom roles).
- Style the locker box, button, and messages exactly to your brand.
- Use the native Gutenberg block or a simple shortcode in the Classic Editor.
- Get started in minutes – no payment gateways to configure, no API keys.
When you’re ready to sell access to your content, the Pro add‑on adds Stripe, PayPal, WooCommerce payments, advanced statistics, and many more styling tools. But first, let’s master the free version.
1. How to Restrict Content to a User Role
1.1 Create a Custom Role (if needed)
WordPress comes with built‑in roles like Subscriber, Author, and Editor. If you want a special role (e.g., “Premium Member”), install the free User Role Editor plugin.
- Go to Users → User Role Editor.
- Click Add Role, enter a display name (e.g., “Premium”), and an ID in lowercase (e.g.,
premium). - Assign this role to users via Users → All Users → Edit User.
1.2 Insert the Content Lock Block
- Open any post or page in the Gutenberg editor.
- Add the Content Lock block (located in the Widgets category).
- Inside the block, place the content you want to hide – text, images, video, whatever you like.
1.3 Configure the Block
In the right‑hand inspector panel:
- Lock Mode is already set to Roles Only by default.
- In the Allowed Roles field, start typing the role ID (e.g.,
subscriber,premium) – select it from the suggestions. - Optionally, edit the Roles Only Message that unauthorised visitors will see.
- Customise the locker’s background, border, text colour, and typography under Box Styling and Cover & Typography.
Publish the page. Now only users who are logged in and have one of the selected roles will see your locked content. Everyone else will see a beautiful locked message.
2. Styling Your Locker
Make the locker match your brand without writing any CSS.
- Cover Image – upload a photo or illustration that represents the locked content.
- Button Styling – adjust colours, border radius, shadow, hover opacity, and alignment.
- Box Styling – control background, border width, border colour, and message text colour.
- Typography – set font sizes and weights for the message and button text.
Every change is previewed live in the editor, so you know exactly how it will look on the front end.
3. Classic Editor & Shortcodes
If you use the Classic Editor, you can still lock content with this shortcode:
text
[ewpkcl_lock] Your secret content [/ewpkcl_lock]
The shortcode respects the same role settings as the block. Payment parameters are available only when Pro is active (see below).
4. Ready to Accept Payments? Upgrade to Pro
The free plugin is purely role‑based. To unlock payments, upgrade to Easywpkit Paid Content Access Pro:
- 💳 Stripe & PayPal – accept one‑time payments; content unlocks automatically after payment.
- 🛒 WooCommerce – sell products that instantly unlock specific locked blocks.
- 📊 Statistics – see who unlocked what, when, and with which method.
- ✉️ Email notifications – get alerted every time a block is unlocked.
- 🎨 Advanced styles – gradient backgrounds, 16 presets, CSS animations, button icons, custom CSS.
- 🔁 Automatic updates – receive updates directly in your WordPress admin.
👉 Get Easywpkit Paid Content Access Pro
Once you install and activate Pro with a valid license, payment settings will appear inside the very same Content Lock block you already use – no need to rebuild anything.
5. Frequently Asked Questions
Can I lock multiple blocks on the same page?
Yes! Each block works independently. You can have different roles for different blocks.
What happens if a visitor without the correct role tries to see the content?
They’ll see a customisable message (e.g., “Only premium members can view this content”) and, if you’ve set one, a cover image.
Do I need to use English role names?
Yes, WordPress stores roles in English. Use subscriber, editor, author, or the ID you set when creating a custom role.
Can I upgrade to Pro later?
Absolutely. Your existing blocks will keep working. After upgrading, you can add payment options to any block without changing its content.
Where can I get help?
Read the full documentation or email us at admin@easywpkit.com.
Download & Support
You can install Easywpkit Paid Content Access directly from your WordPress dashboard: go to Plugins → Add New and search for “Easy Content Lock”.
Or download the latest .zip file here:
Easywpkit Paid Content Access
For questions, bugs, or feature requests, contact us at admin@easywpkit.com.
© 2026 EasyWPKit. Easywpkit Paid Content Access is a trademark of EasyWPKit.