
A beginner-friendly, step‑by‑step guide that assumes zero knowledge.
When I built my first WordPress site, I thought installation meant writing code, messing with databases, and probably breaking everything.
Turns out – it’s way easier than I expected.
In fact, most hosts install WordPress for you automatically. You just click a button, wait 30 seconds, and you’re done.
But what if your host doesn’t offer that? Or you want to understand what’s actually happening under the hood?
In this guide, I’ll show you three methods to install WordPress:
- One‑click installer (easiest – 90% of beginners should use this)
- Manual installation via cPanel (good to know)
- Local installation (for testing on your own computer)
Let’s start with the simplest.
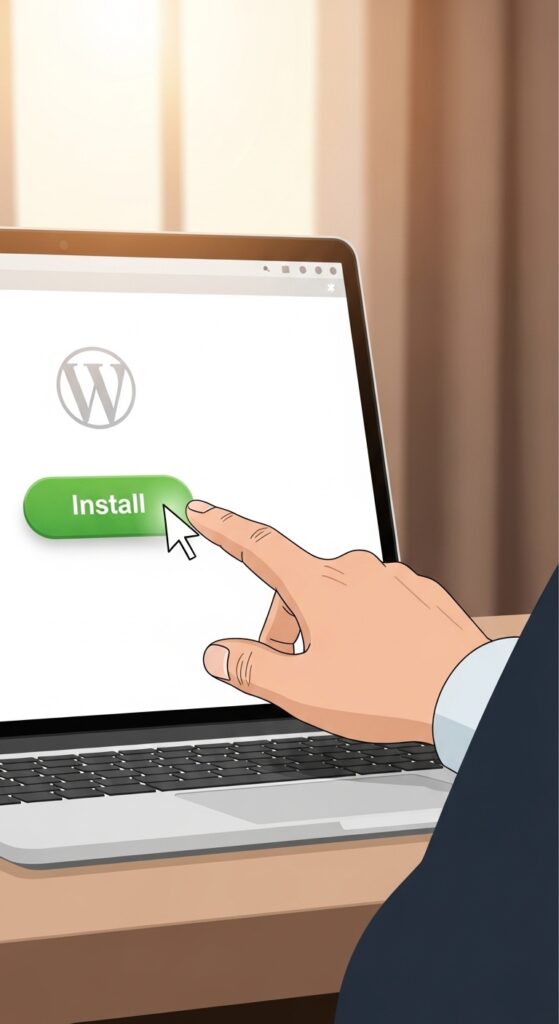
Method 1: One‑Click Installer (Recommended for beginners)
Almost every reputable hosting provider includes a one‑click WordPress installer in their control panel. The most common ones are:
- Softaculous (used by Hostinger, SiteGround, Namecheap, many others)
- Fantastico (older, but similar)
- Mojo Marketplace (used by Bluehost)
Here’s exactly what you do:
Step 1: Log into your hosting account
Open your hosting dashboard (cPanel or custom panel). Look for a section called “WordPress”, “Website”, or “Auto Installer”.
Step 2: Find the WordPress icon
It usually has a big blue “W” logo. Click it.
Step 3: Fill in basic details
You’ll see a form. Don’t panic. You only need to fill a few fields:
- Choose domain – select your domain from the dropdown (if you have multiple).
- Directory – leave empty unless you want WordPress in a subfolder (like
yoursite.com/blog). - Site Name – your future site title (can change later).
- Site Description – optional, can change later.
- Admin username – not “admin”. Pick something unique like “yourname_wp”.
- Admin password – use a strong password (your host may generate one for you).
- Admin email – your real email.
Step 4: Click “Install”
Wait 30–60 seconds. You’ll get a success message with your WordPress login URL (usually yoursite.com/wp-admin or yoursite.com/wp-login.php).
That’s it. WordPress is installed.
Method 2: Manual Installation via cPanel (Only if you have to)
If your host doesn’t offer one‑click installer (rare these days), you can install WordPress manually. It sounds scary but only takes 5–10 extra minutes.
What you need:
- Your hosting cPanel login
- A database name, username, and password (you’ll create these)
- FTP client or File Manager in cPanel
Step‑by‑step:
- Download WordPress from wordpress.org/download – a zip file.
- Upload the zip to your server using cPanel File Manager or FTP. Extract it in the root folder (usually
public_htmlorhtdocs). - Create a database in cPanel:
- Go to MySQL Databases
- Create a database (name it something like
wp_database) - Create a database user (e.g.,
wp_user) - Add the user to the database with ALL PRIVILEGES
- Run the WordPress installer by visiting your domain (e.g.,
yoursite.com). WordPress will detect that it’s not installed and show a setup form. - Enter database details (database name, username, password, host =
localhost). - Set your site title, admin username, password, email – same as in method 1.
Wait a minute – you’re done.
👉 Pro tip: If you see this method and feel overwhelmed, just stick to Method 1. Seriously. No shame.
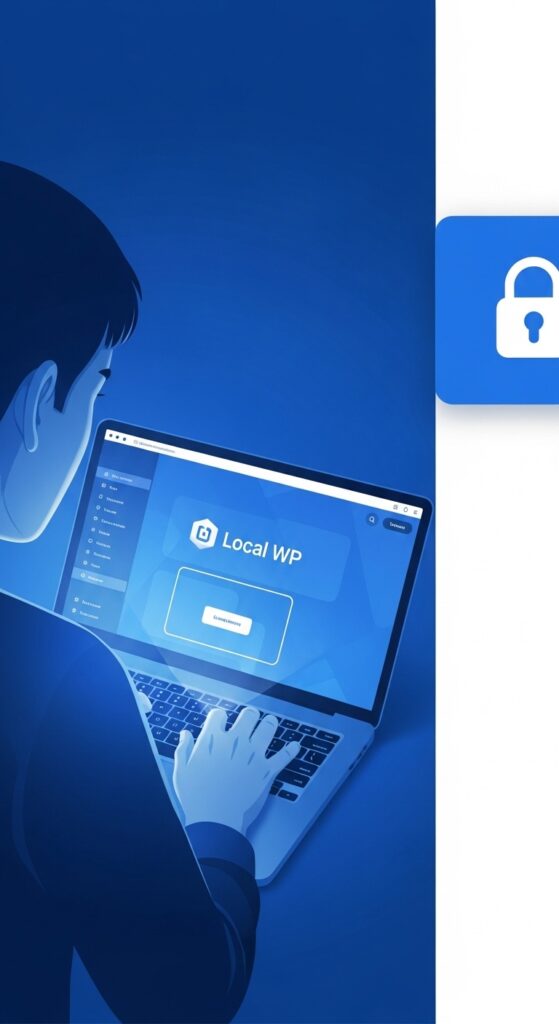
Method 3: Local Installation (Practice on your own computer)
Want to learn WordPress without paying for hosting? Install it locally – on your own laptop or PC. It’s like having a private WordPress sandbox.
Tools you can use (all free):
- Local WP (formerly Local by Flywheel) – my favorite, very beginner‑friendly
- XAMPP (cross‑platform, a bit more technical)
- MAMP (Mac/Windows)
Using Local WP (3 minutes):
- Download Local WP and install it.
- Click “Create a new site”.
- Give it a name (like
my-testsite). - Choose your environment (the default works fine).
- Click “Create” – Local WP automatically installs WordPress for you.
- Click “Admin” to open your local WordPress dashboard.
That’s it. You now have a fully working WordPress site that only you can see. Perfect for testing themes, plugins, or learning without worrying about breaking a live site.
What to do after installing WordPress?
Once WordPress is live, you’ll see a basic default theme (like Twenty Twenty‑Four) and a sample post. Here’s what I did next:
- Log in to your dashboard at
yoursite.com/wp-admin. - Delete sample content (the sample post and page).
- Change your permalink structure – go to
Settings → Permalinksand choose “Post name” (it’s best for SEO). - Install a theme – I use Kadence, but you can start with any free theme.
- Install essential plugins (security, SEO, backup – I covered these in [article #1](link to article 1)).
- Create your first pages – Home, About, Blog, Contact.
I’ll cover each of these steps in future articles.
Common installation problems (and how to fix them)
“Error establishing database connection”
- Check your database name, username, and password in
wp-config.php. - Make sure the database user has all privileges.
White screen after installation
- Clear your browser cache.
- Rename the
pluginsfolder via FTP (this disables all plugins). If that fixes it, enable plugins one by one.
Can’t find wp-admin after install
- Try
yoursite.com/wp-login.phporyoursite.com/admin. - If still nothing, contact your host – they may have a different login URL.
Recap: Which method should you use?
| Method | Difficulty | Time | Best for |
|---|---|---|---|
| One‑click installer | Very easy | 2 min | Everyone |
| Manual cPanel | Moderate | 10 min | When one‑click isn’t available |
| Local installation | Easy | 5 min | Practice & testing |
My advice: Use the one‑click installer. It’s what 99% of beginners (and many pros) use. There’s no badge for installing WordPress the hard way.
What’s next?
You’ve just installed WordPress – congratulations! Now the real fun begins.
👉 Next article: First Things First: General Settings & Permalinks – coming soon. We’ll clean up the default setup and make your site search‑engine friendly.
Got stuck at any step? Leave a comment below or email me. I help everyone who asks.
First published: April 24, 2026
Last updated: April 24, 2026
📌 Key takeaways (for skimmers)
- One‑click installer is the easiest – use it.
- Manual installation is possible but rarely needed.
- Local WP lets you practice for free on your own computer.
- After installation: delete sample content, change permalinks, pick a theme.