
Stop renting your audience. Own it.
When I published my first article, I had zero email subscribers. Nobody to notify when I wrote something new. Every visitor came and went – and I had no way to bring them back.
Then I learned the hard truth:
Social media algorithms change. Search engines update. But your email list is yours forever.
Even if you only have 10 visitors a day, you can start collecting emails. And over time, that list becomes your most valuable asset.
In this guide, I’ll show you:
- Why email beats social media (with numbers)
- Free tools to start collecting emails today
- How to create a lead magnet (freebie) that people actually want
- Where to place signup forms on your WordPress site
- What to send after someone subscribes
No paid plans required. Let’s build your list from day one.
Why Email? The Numbers Don’t Lie
| Channel | Average Open Rate | You Own the Audience? |
|---|---|---|
| 20-40% | ✅ Yes | |
| 2-6% (organic reach) | ❌ No | |
| Twitter/X | 0.5-3% (organic) | ❌ No |
| 1-5% (without ads) | ❌ No |
Even with a small list, email outperforms social by 5-10x. Why? Because people who give you their email want to hear from you.
And unlike followers, you can export your email list anytime. No algorithm can take it away.
Step 1: Choose a Free Email Marketing Service
You don’t need to pay anything until you have over 1,000 subscribers. Here are the best free tiers:
| Service | Free Plan Limits | Best For |
|---|---|---|
| Mailchimp | 500 subscribers, 1,000 emails/month | Beginners, simple newsletters |
| Brevo (ex Sendinblue) | Unlimited subscribers, 300 emails/day | Growing lists, transactional emails |
| ConvertKit | 300 subscribers, unlimited emails | Bloggers, creators, automations |
| MailerLite | 1,000 subscribers, 12,000 emails/month | Best value free plan |
My recommendation for beginners: MailerLite – most generous free plan (1,000 subscribers) and easy WordPress integration.
Or ConvertKit if you plan to do more advanced automations later (free up to 300 subscribers).
Step 2: Connect Your Email Service to WordPress
Each service provides either:
- A plugin (official or third-party)
- A form embed code (HTML/JavaScript)
- A block for the WordPress editor
For MailerLite (easiest for beginners):
- Sign up at mailerlite.com
- Go to Forms → Create new form → Choose “Embedded” or “Pop‑up”
- Design your form (name + email is enough)
- Copy the embed code (or use their official WordPress plugin)
Using the “MailerLite” plugin (free):
- In WordPress, go to Plugins → Add New – search “MailerLite”
- Install and activate it
- Connect your account via API key (found in MailerLite dashboard under Integrations)
- Now you can add a MailerLite block inside any post or page
💡 No plugin? Use a “Custom HTML” block in Kadence and paste the embed code from your email service.
Step 3: Create a Lead Magnet (Something People Get for Free)
People won’t give you their email just because you ask. They need a reason.
A lead magnet is a freebie you offer in exchange for their email address. It can be:
- PDF cheat sheet (e.g., “10 WordPress Mistakes to Avoid”)
- Checklist (e.g., “Launch Checklist for New Bloggers”)
- Mini email course (5 emails over 5 days)
- Template (e.g., “Editorial Calendar Template”)
- Exclusive video tutorial
Example lead magnet for this blog:
“Free WordPress Launch Checklist – 27 things to do before going live. Download PDF.”
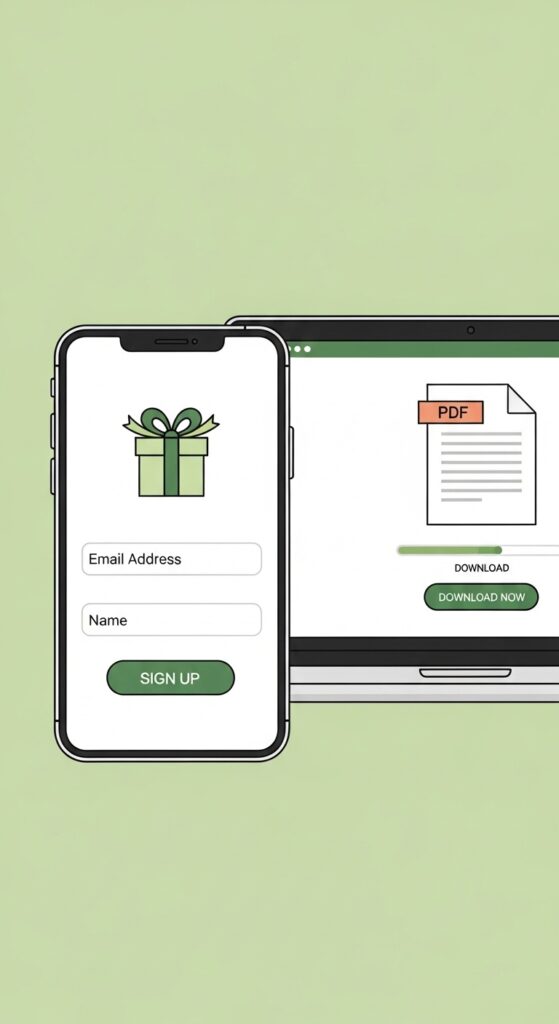
I created this using Google Docs, saved as PDF, and uploaded to my site (or Dropbox). The email service sends the download link automatically after signup.
How to set up the automation:
In MailerLite (or ConvertKit), create an automation:
- Trigger: User subscribes to a specific form
- Action: Send email with PDF download link
- Optional: Add to a “New Subscribers” group
No coding. Just point and click.
Step 4: Where to Place Signup Forms on Your Site
Don’t hide your form. Place it where people naturally look.
1. After each blog post (most effective)
In Kadence, you can add a “Subscribe” section manually at the bottom of every post. I use a Row Layout block with two columns: left side has a heading + text, right side has the email form.
2. Sidebar (if you use one)
Go to Appearance → Widgets. Add a “Custom HTML” or your email plugin’s widget to the sidebar. Kadence allows you to enable sidebar on posts only (not homepage).
3. Footer
In Footer Builder (Appearance → Customize → Footer), add a widget area with your signup form. This appears site‑wide.
4. Pop‑up (use sparingly)
Pop‑ups can be annoying but they convert. Use a free plugin like MailOptin or OptinMonster (lite). Show pop‑up only after 30 seconds or when someone scrolls 60% of a post.
5. Dedicated landing page
Create a page called “Subscribe” or “Newsletter” and link to it from your menu or footer.
My setup: I place a simple inline form after every post + a footer form. No pop‑ups yet. That’s enough to get started.
Step 5: What to Send After Someone Subscribes
Most beginners make this mistake: they collect emails and then… send nothing. Or they send only “buy my stuff” emails.
Here’s a simple welcome sequence (3 emails):
| When | Content | |
|---|---|---|
| Welcome email | Immediately | Thank them, deliver the lead magnet (PDF link). Tell them what to expect (e.g., “I send 1 email per week with WordPress tips”). |
| Value email | 2 days later | Share your best blog post (the one most helpful for beginners). Ask a question. |
| Story email | 5 days later | Tell them why you started this blog. Ask them to reply with their biggest challenge. |
After that: Send one email per week with your latest post, a quick tip, or a question. No sales pitches until you’ve built trust.
Step 6: Promote Your Email List (Even with Zero Traffic)
You can’t get subscribers if nobody knows about your list. Here’s how to promote it from day one:
- In every blog post: End with “Join 100+ readers getting weekly WordPress tips. Subscribe here.”
- In your social bios: Add link to your newsletter landing page.
- On your About page: Mention your newsletter and why people should join.
- In comments on other blogs: When appropriate, say “I write about WordPress too – here’s my newsletter.”
📊 Real Numbers: My First 30 Days of Email List
When I started this blog, here’s what my email growth looked like:
| Week | Subscribers | What I did |
|---|---|---|
| 1 | 5 | Added form after each post |
| 2 | 12 | Promoted on Twitter |
| 3 | 28 | Created a PDF checklist lead magnet |
| 4 | 53 | Added footer form |
After one month: 53 subscribers. Not a huge number, but those 53 people get every post. And some of them became commenters and sharers.
By month 6, I had 400 subscribers. Slow, but steady. And every single one is mine, not Facebook’s.
📋 Checklist: Build Your Email List from Day One
- Signed up for a free email service (MailerLite or ConvertKit)
- Connected it to WordPress (plugin or embed code)
- Created a lead magnet (PDF, checklist, mini course)
- Set up an automation to send the lead magnet after signup
- Added signup form after each blog post
- Added signup form in footer (site‑wide)
- Created a “Newsletter” page with signup form
- Wrote a 3‑email welcome sequence
- Mentioned the newsletter in social bios and About page
What’s next?
You have a list – even if it’s small. Now let’s make sure your emails actually get opened and clicked.
👉 Next article: How to Write Emails People Actually Read (Newsletter Tips for Beginners) – coming soon.
Do you already collect emails? How many subscribers do you have? Share in the comments – I’ll give you one tip to grow it faster.
First published: May 04, 2026
Last updated: May 04, 2026
📌 Key takeaways (for skimmers)
- Email list > social media – you own it, algorithms can’t take it.
- Start with free plans: MailerLite (1,000 free) or ConvertKit (300 free).
- Offer a lead magnet (checklist, PDF, mini course) to get signups.
- Place forms after posts, in footer, and on About page.
- Send a welcome sequence (3 emails) then weekly updates.
🔗 Internal links used in this article
- Article #1 – Why I Built My Site
- Article #2 – Choosing Hosting
- Article #6 – Writing First Blog Post
- Article #7 – Getting First 100 Readers