
A quick checklist of what to change right after installing WordPress (no mistakes).
So you’ve just installed WordPress – congratulations! If you followed the previous guide (or used a one-click installer), you’re now looking at a fresh WordPress dashboard.
It probably looks something like this:
- A default theme (Twenty Twenty-Five or similar)
- A sample post called “Hello world!”
- A sample page called “Sample Page”
- And a bunch of default settings
Now comes the important part: configuring WordPress properly before you start building.
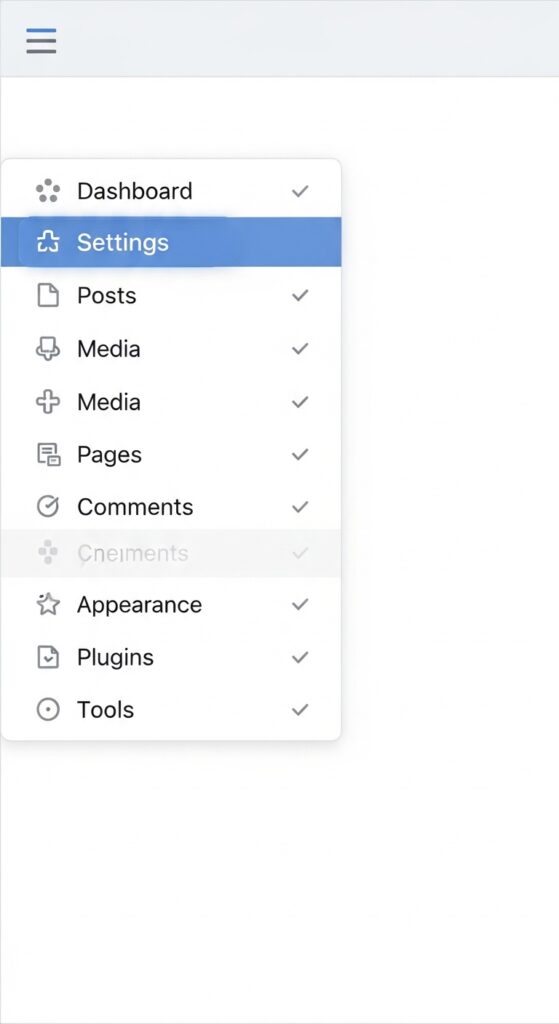
In this article, I’ll walk you through the most critical settings – the ones I wish I had set correctly from day one. Most of these live under Settings in your WordPress admin sidebar.
Let’s dive in.
1. General Settings (Settings → General)
This is where your site’s basic identity lives. Go to Settings → General.
Site Title & Tagline
- Site Title – your website’s name (e.g., “EasyWPKit” or your blog name).
- Tagline – a short description (e.g., “WordPress tutorials & plugins”). It appears in browser tabs and search results.
💡 Tip: Don’t overthink it – you can change both later.
WordPress Address (URL) & Site Address (URL)
- These should already be correct. Usually both are your domain (e.g.,
https://yourdomain.com). If you installed WordPress in a subfolder (likeyourdomain.com/wordpress), the first one would include that subfolder while the second stays root. Leave them as is unless you know what you’re doing.
Administrator Email
- This is the email where WordPress sends notifications (password resets, comments, updates). Make sure it’s a real email you check regularly.
Membership & New User Default Role
- Membership – check “Anyone can register” if you plan to allow user registration (for a community, shop, or membership site). I keep it unchecked until I’m ready.
- New User Default Role – if you enable registration, set this to “Subscriber” by default. Subscribers can only manage their profile – they can’t edit your site.
Timezone, Date & Time Format
- Timezone – choose your city (e.g., “Los Angeles” or “London”). This affects scheduled posts and timestamps.
- Date & Time format – pick what looks good to you (I use “F j, Y” for dates – e.g., April 19, 2026 – and “g:i a” for time – e.g., 4:30 pm).
Week Starts On
- Set to “Monday” if your audience is international, or “Sunday” if US-focused. I use Monday.
Don’t forget to click “Save Changes” at the bottom of every settings page. This is easy to miss.
2. Writing Settings (Settings → Writing)
This section controls how content creation works.
Default Post Category
- By default, new posts are assigned to “Uncategorized”. Create a new category first (say, “Blog” or “WordPress Zero to Hero”), then select it as default.
Default Post Format
- Leave as “Standard” unless your theme supports other formats (like galleries or quotes).
Post via Email & Remote Publishing
- Ignore these – 99% of users don’t need them.
Update Pressing: You can also configure an update service (ping list) to notify search engines when you publish. The default http://rpc.pingomatic.com/ is fine, but I recommend using an SEO plugin (like RankMath) for better control (I covered essential plugins in article #1).
3. Reading Settings (Settings → Reading)
This determines what visitors see when they land on your site.
Your homepage displays
- Latest posts (default) – your blog feed will be the front page. Good for pure blogs.
- A static page – choose a separate page as your homepage and another for your blog list. I recommend this for most sites. You’ll need to create two pages first: “Home” and “Blog”. Then select them here.
Blog pages show at most
- How many posts appear per page. Start with 10.
Syndication feeds show the most recent
- Leave at “Full text” unless you want only snippets (not recommended for SEO).
Search engine visibility
- Discourage search engines from indexing this site – leave this unchecked unless you’re building in private. Unchecking tells Google to index your site.
⚙️ 4. Discussion Settings (Settings → Discussion)
This controls comments. Here’s how I set mine to avoid spam without losing engagement.
Default post settings
- Uncheck “Attempt to notify any blogs linked to from the post” (pingbacks often cause spam).
- Uncheck “Allow link notifications from other blogs (pingbacks and trackbacks)” – same reason.
- Keep “Allow people to submit comments on new posts” if you want comments.
Other comment settings
- Comment author must fill out name and email – check this.
- Users must be registered and logged in to comment – up to you. I leave unchecked for casual bloggers.
- Automatically close comments on posts older than X days – I set to 14 days to avoid spam on old content.
Before a comment appears
- Comment must be manually approved – check this. Prevents spam from appearing live.
- Comment author must have a previously approved comment – check this too; it trusts returning visitors.
Comment Moderation
- I set “Hold a comment in the queue if it contains more than 2 links” (spammy comments often have many links).
Avatars
- You can enable or disable avatar images next to comments. I keep them on (default).
Save changes.
🔗 5. Permalinks (Settings → Permalinks) – Most important for SEO
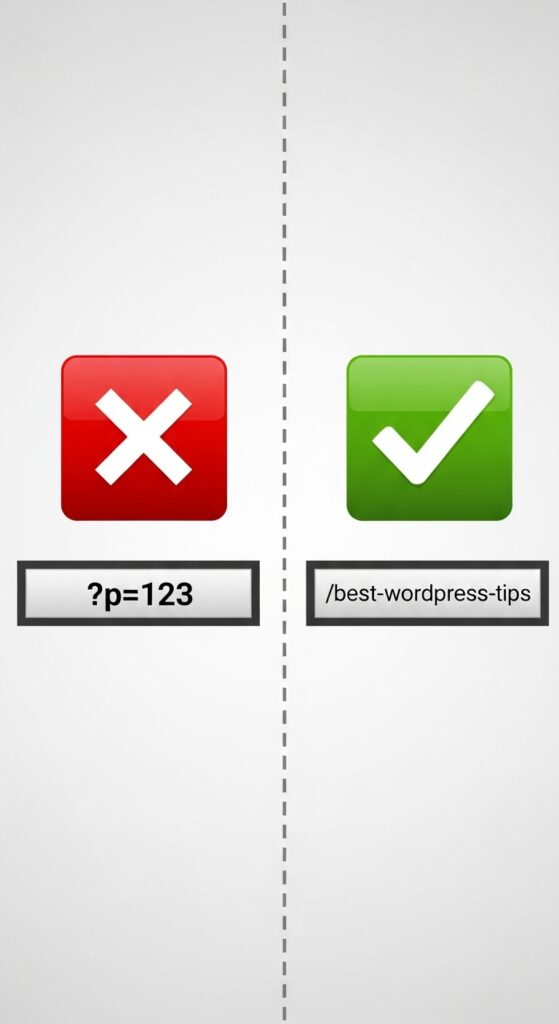
This is the single most important setting for your site’s URLs. Don’t leave it on the default (which looks like ?p=123).
Scroll down and select “Post name” – it makes URLs clean and SEO-friendly:
- Default (ugly):
yoursite.com/?p=123 - Post name (good):
yoursite.com/sample-post/
Why it matters: Search engines (and humans) prefer readable URLs. It also helps your hosting performance (though minimally).
After selecting “Post name”, click “Save Changes”. Your server may need a few seconds to rewrite the rules.
6. Privacy Settings (Settings → Privacy)
WordPress requires you to choose a Privacy Policy page (due to GDPR and other laws). If you haven’t created one yet, the screen lets you generate a suggested policy or select an existing page.
I created a real Privacy Policy page earlier – you can follow this guide to write yours. Once it exists, select it here and save.
Bonus: Delete Sample Content
Before you start writing real content, clean up the defaults:
- Posts → All Posts – hover over “Hello world!” and click Trash.
- Pages → All Pages – trash “Sample Page”.
- Comments – delete the default test comment (if any).
This keeps your site clean and professional.
🗂️ Create Your First Categories
Go to Posts → Categories. Delete the default “Uncategorized” and create your own:
- “WordPress Zero to Hero”
- “Hosting & Performance”
- “Plugins”
(or anything relevant to your niche)
You’ll assign each future post to one of these.
What’s next?
Now your WordPress foundation is solid. The next step is making it look good:
👉 Next article: Choosing a Theme and Building a Homepage with Kadence (No Coding) – coming soon.
Have questions about any setting? Drop a comment. I’ve broken almost every default setting at some point – and learned from it.
First published: April 26, 2026
Last updated: April 26, 2026
📌 Key takeaways (for skimmers)
- Set Site Title, Tagline, Timezone in General Settings.
- Choose static homepage in Reading Settings.
- Change Permalinks to “Post name” – crucial for SEO.
- Configure comment moderation to avoid spam.
- Delete sample content and create your own categories.
🔗 Internal links used in this article
- Article #1 – Why I Built My WordPress Site from Scratch
- Article #2 – Choosing the Right Hosting
- Article #3 – Installing WordPress in 10 Minutes